Click
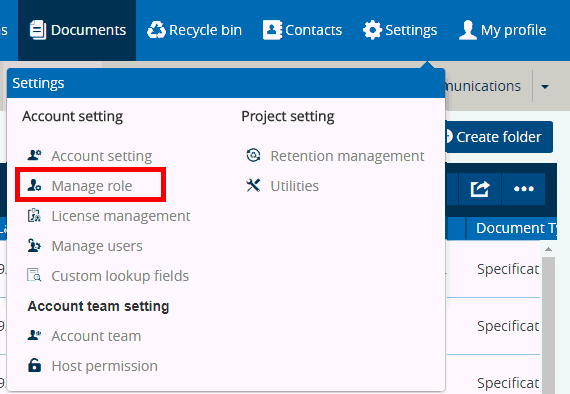
on  button at the top right-hand corner of the screen to access the Settings Main Menu. This menu is
displayed below,
The Manage Role screen lets you define and assign specific roles to users (other team members).
Follow the procedure below to access the Manage Role screen:
Click
on  button at the top right-hand corner of the screen to access the Settings Main Menu. This menu is
displayed below,

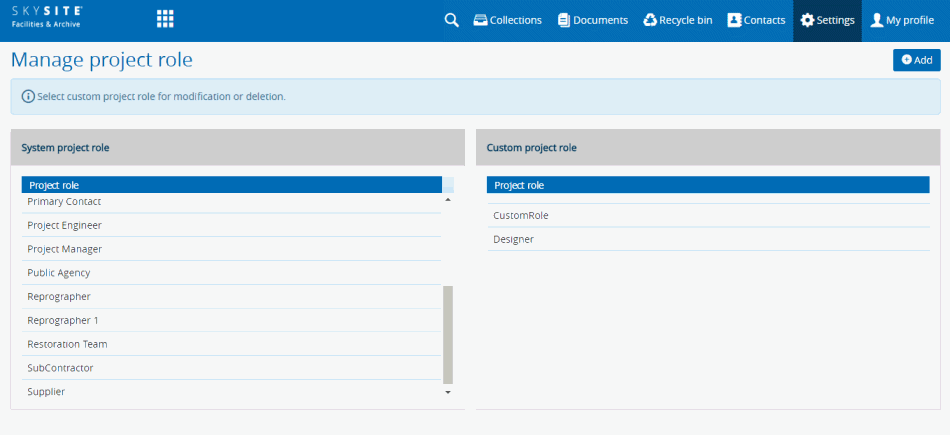
Under the Account Setting heading click on Manage Role menu item [highlighted in the screenshot above] to access Manage Collection Role screen. This screen is shown below,

The Manage Collection Role screen is divided into two sections: System Collection Role and Custom Collection Role.
System Collection Role section consists of list of roles that are system-defined (i.e. hard-coded in the application). These roles can only be assigned to any users and can not be created, modified or deleted.
Custom Collection Role section consists of list of roles that are user-defined, thereby letting you. the user, create roles as per your need. Click on [Add] button to create new Custom Roles. These roles can be modified or deleted.
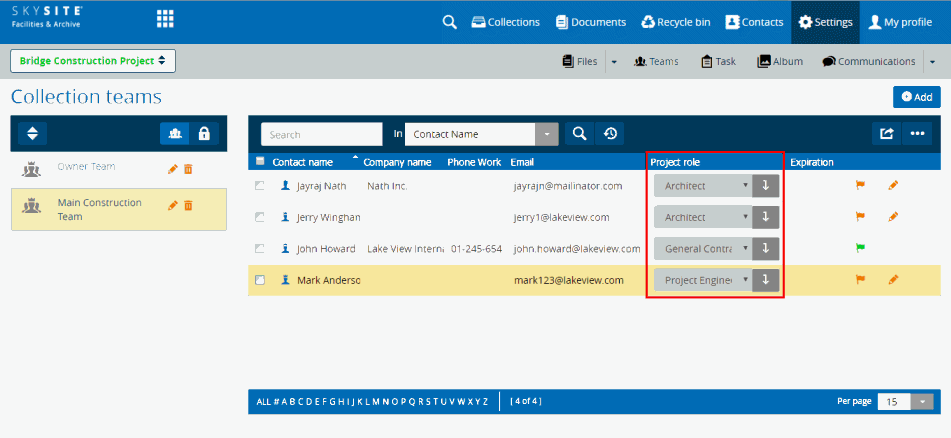
The visible system roles and the created custom roles are associated with users through the Collection Teams screen. For each team member of the selected team, both system & custom roles can be selected from the drop-down under the Collection Role column. This is shown in the screenshot below,

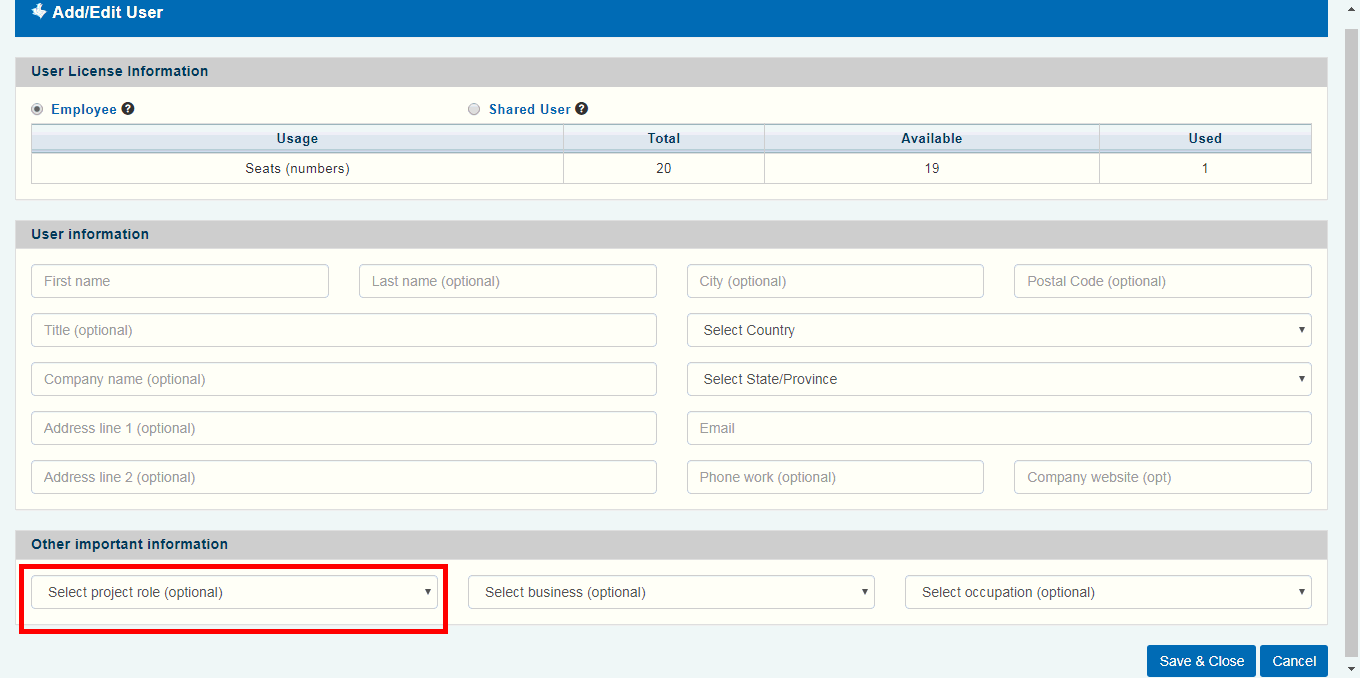
Also, Collection roles can be assigned to a new contact during the time of creating a contact through the Add/Edit Contact screen. This is shown below,

Links:
Creating Custom Collection Role