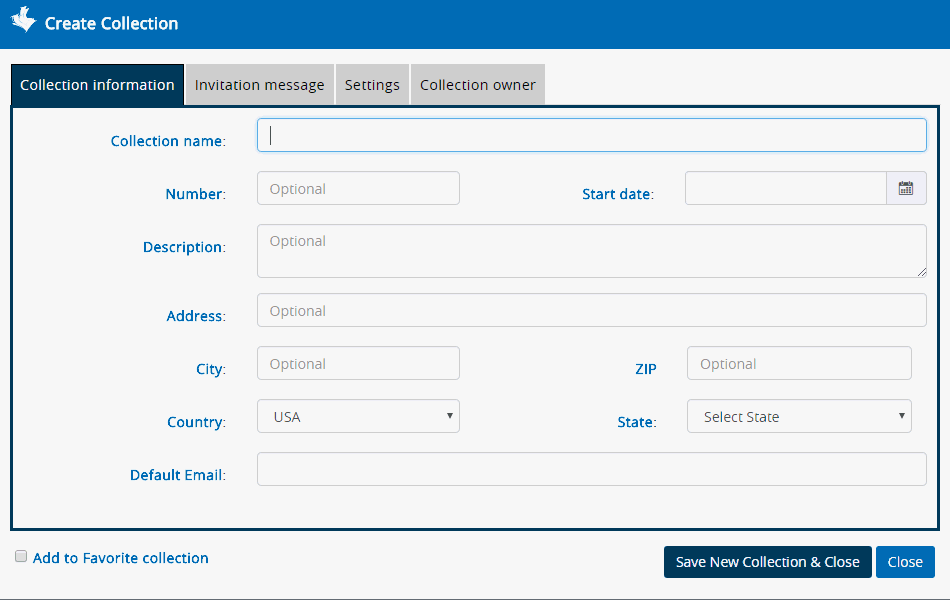
Click ![]() (Add New Collection button)
present at the top of the Collection
Home screen. The Create
Collection window appears. The Collection
Information tab is displayed by default. This is shown
below,
(Add New Collection button)
present at the top of the Collection
Home screen. The Create
Collection window appears. The Collection
Information tab is displayed by default. This is shown
below,
Enter the Collection number and the Collection name in the Number and Collection Name text boxes respectively.
Click (Calendar icon) to select the Collection Start Date from the calendar displayed.
Enter the description of the Collection in the Description text area.
Enter the Collection address in the Collection Address text box.
Enter the Collection location in the City text box.
Enter the zip code of the city in the Postal Code text box.
Select the state from the State drop-down list.
Select the country from the Country drop-down list.
Enter the Default Email of the collection, this email is used for syncing emails from outlook using the 'Outlook plug-in' app.
Tick the Add to Favorite Collection checkbox to add the newly created Collection under the Favorite category. The Collections will get included in to that section automatically.
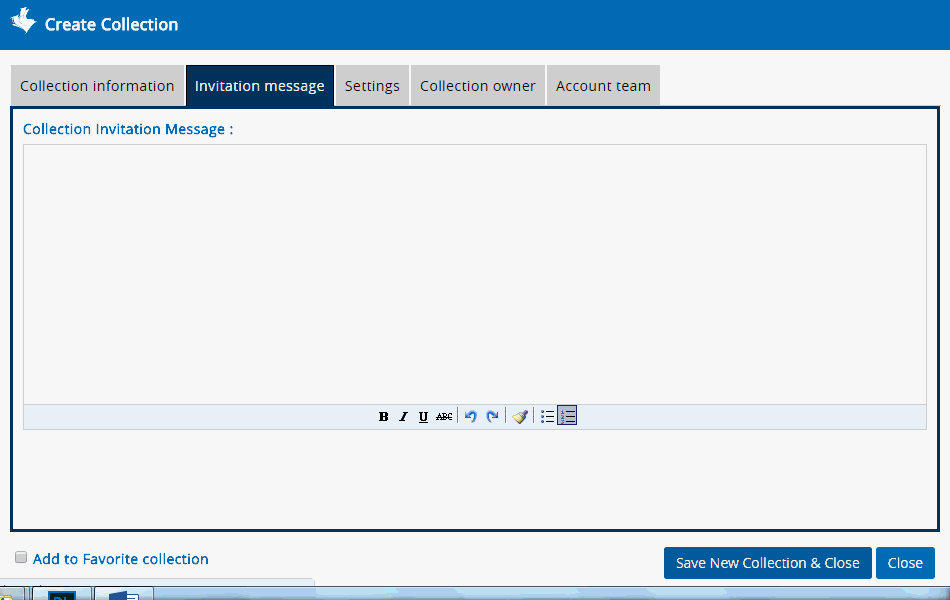
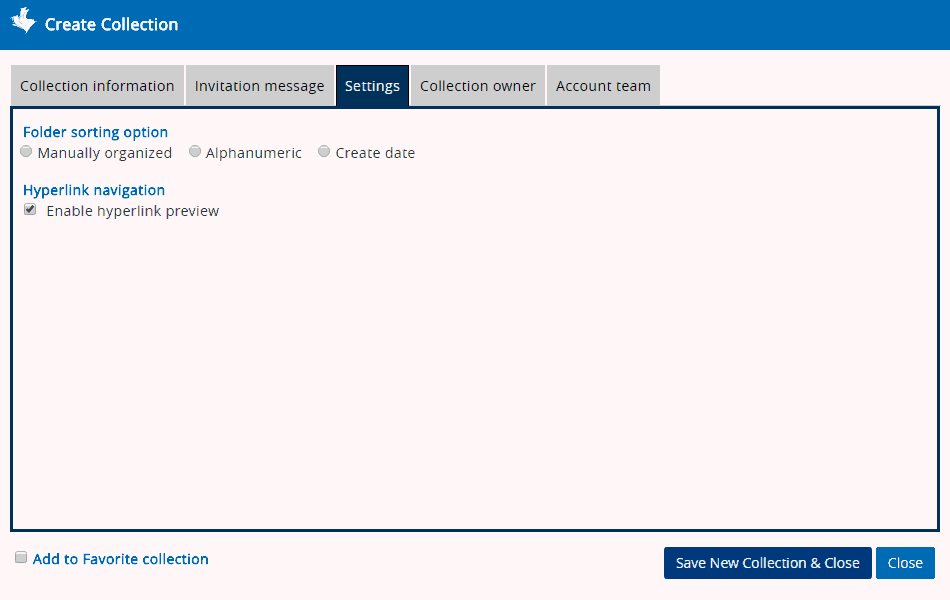
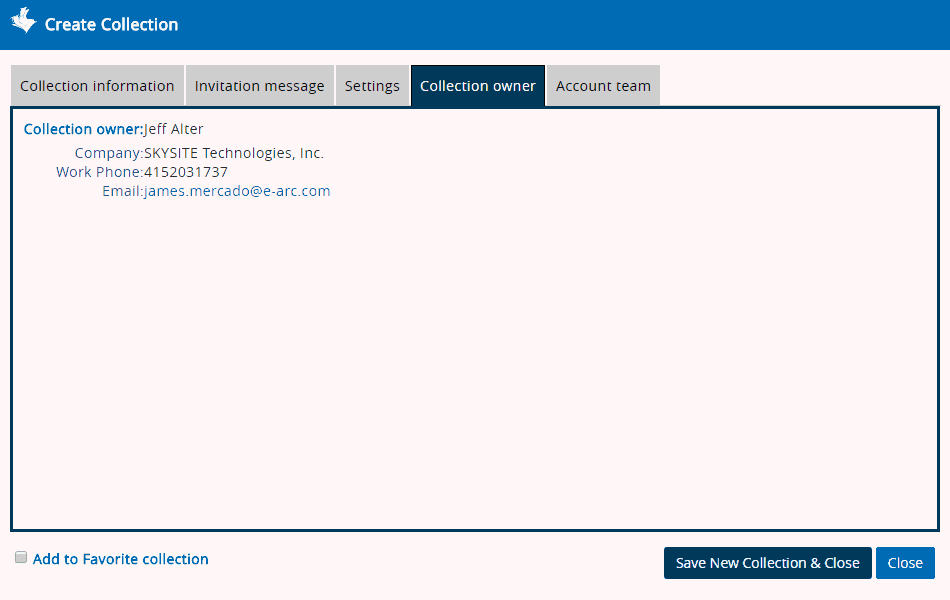
Click Invitation Message tab, the screen appears. If you want to write any invitation message, enter the message in the Collection Invitation Message text area. This message will be send by default to the Contact when that Contact is given Collection access.


